Description
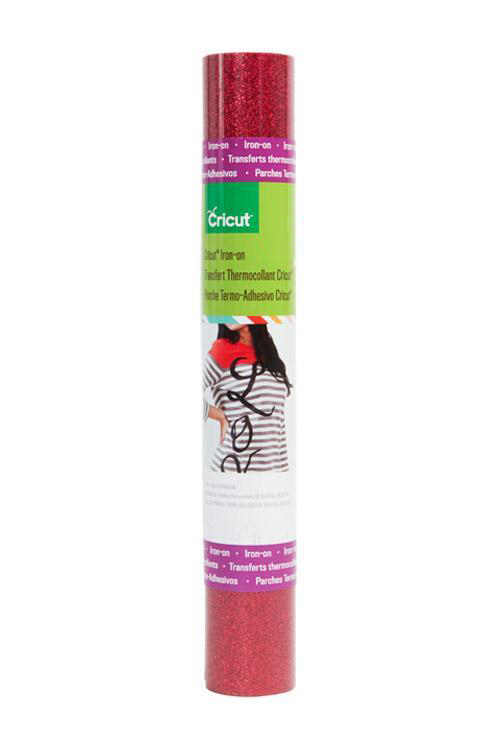
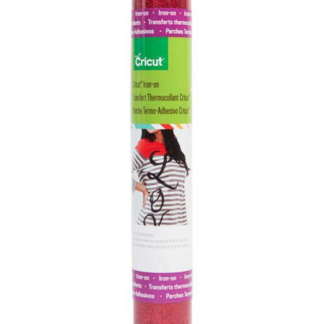
Cricut® Iron-on Glitter is a decorative heat transfer film that makes apparel and accessories all your own. Personalize everything from sports team wear, t-shirts, and jackets to bags, aprons, scarves, and hats. You can even customize home décor items such as pillows, blankets, basket liners, and wall hangings.
Cricut® Iron-on sheets are made up of two parts. The film is the actual material that will be ironed onto your project, and the liner is the carrier sheet that holds the design in place and protects your iron during the application process.
- Includes
- One 12″ x 19″ roll Cricut® Iron-on Glitter material in Red
- Complete application instructions
- Tips
- For best results, carefully follow <a “http://content.provocraft.com/b/pdfs/Iron-onInstructions.pdf”>the cutting and application instructions found within the Cricut® Iron-on packaging.
- When creating your design, be sure to flip all images prior to cutting so they appear backwards (mirror image).
- Before you cut, adjust your machine settings according to the <a “http://content.provocraft.com/b/pdfs/Iron-onKissCutCuttingGuide.pdf”>Iron-on Kiss Cut Guide in the package. (A kiss cut is a cut that only goes through the iron-on film and leaves the liner intact.)
- Using the weeding tool found in the Cricut® Tool Kit can make removing negative Cricut® Iron-on film faster and easier.
- Do not layer Cricut® Iron-on Glitter on top of other Iron-on Glitter film. You can layer Iron-on Glitter on top of Cricut® Iron-on Lite. Iron on one layer at a time, beginning from the bottom layer and working your way up.
- Using the Cotton/Linen setting of the iron provides the best results for most materials. More delicate materials can be protected by using a press cloth or piece of cotton fabric, such as a dishtowel, while ironing.
- To ensure best results, test a piece of Cricut® Iron-on in an inconspicuous part of the item prior to application.
- For longest life, wash and dry the embellished item inside out.
- For use with all Cricut® machines
Measurements for Application on adult apparel:
| Basketball | Lacrosse | Hockey | Baseball | Football | Soccer | Volleyball | Softball | |
| Name | 2″ – 3″ | 2″ – 3″ | 2″ – 3″ | 2″ – 3″ | 2″ – 3″ | 2″ – 3″ | 2″ – 3″ | 2″ – 3″ |
| Front # | 3″ – 4″ | 6″ – 8″ | 3″ – 4″ | 3″ – 4″ | 8″ – 10″ | 3″ – 4″ | 3″ – 4″ | 3″ – 4″ |
| Back # | 6″ – 8″ | 8″ – 12″ | 10″ – 12″ | 6″ – 8″ | 10″ – 12″ | 6″ – 8″ | 6″ – 8″ | 6″ – 8″ |
| Shorts # | 3″ – 4″ | 3″ – 4″ | 3″ – 4″ | 3″ – 4″ | ||||
| Sleeve | 3″ – 4″ | 3″ – 4″ |
- When applying to the front corner of a t-shirt or polo, place it 7 ½” – 9” down from the left shoulder seam and 4” – 6” from the center.
- When applying to the front of a sweatshirt, place top of image 3” – 3 ½” below bottom of neck seam.
- When applying to the front of a jersey, place top of image 2” – 3” below bottom of neck seam.
- See the guide to <a “http://content.provocraft.com/b/pdfs/Iron-onPopularLogoPlacement Guide.pdf”>popular logo placement for more placement ideas.
Disclaimer
Please review and follow the instructions. Even when following the instructions, results may vary. Use this product at your own risk.
Cricut Supplies. Click Buy Now

