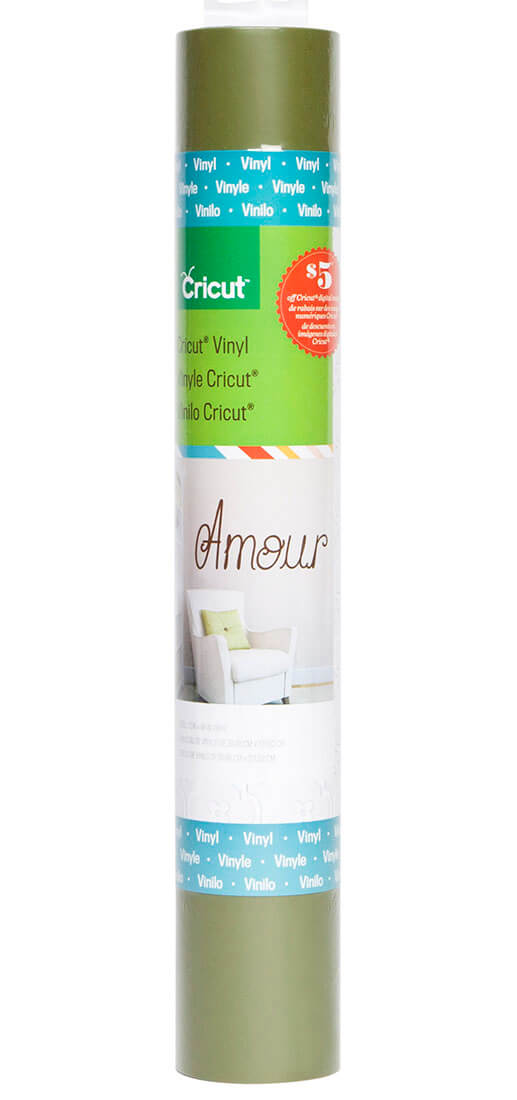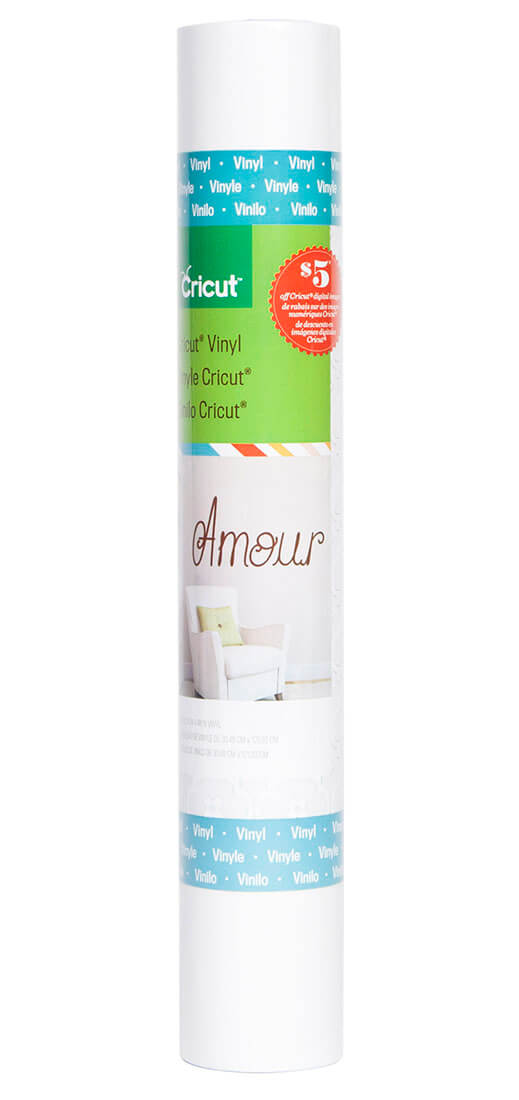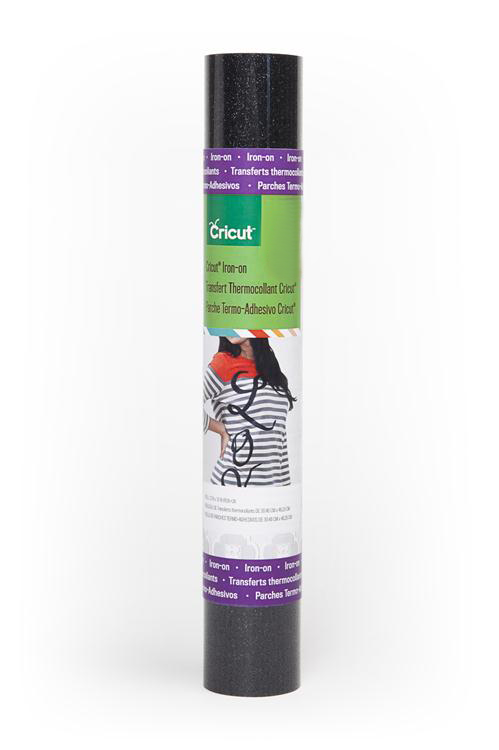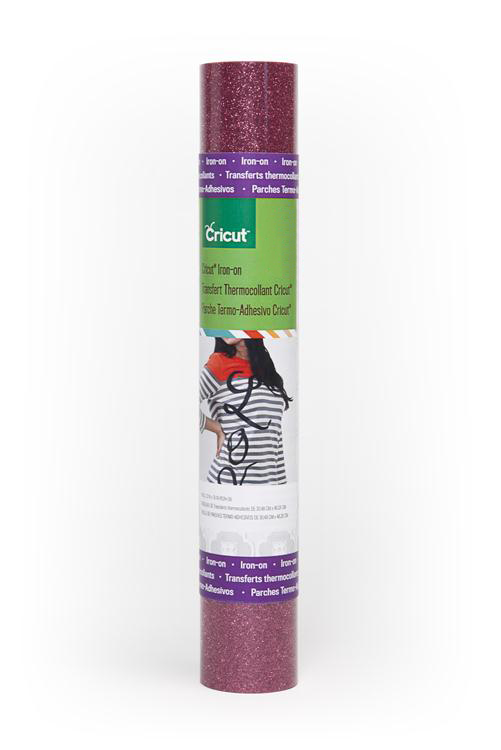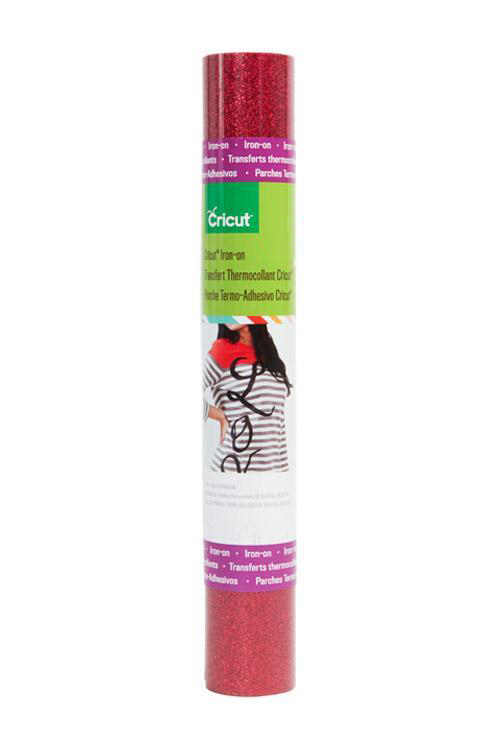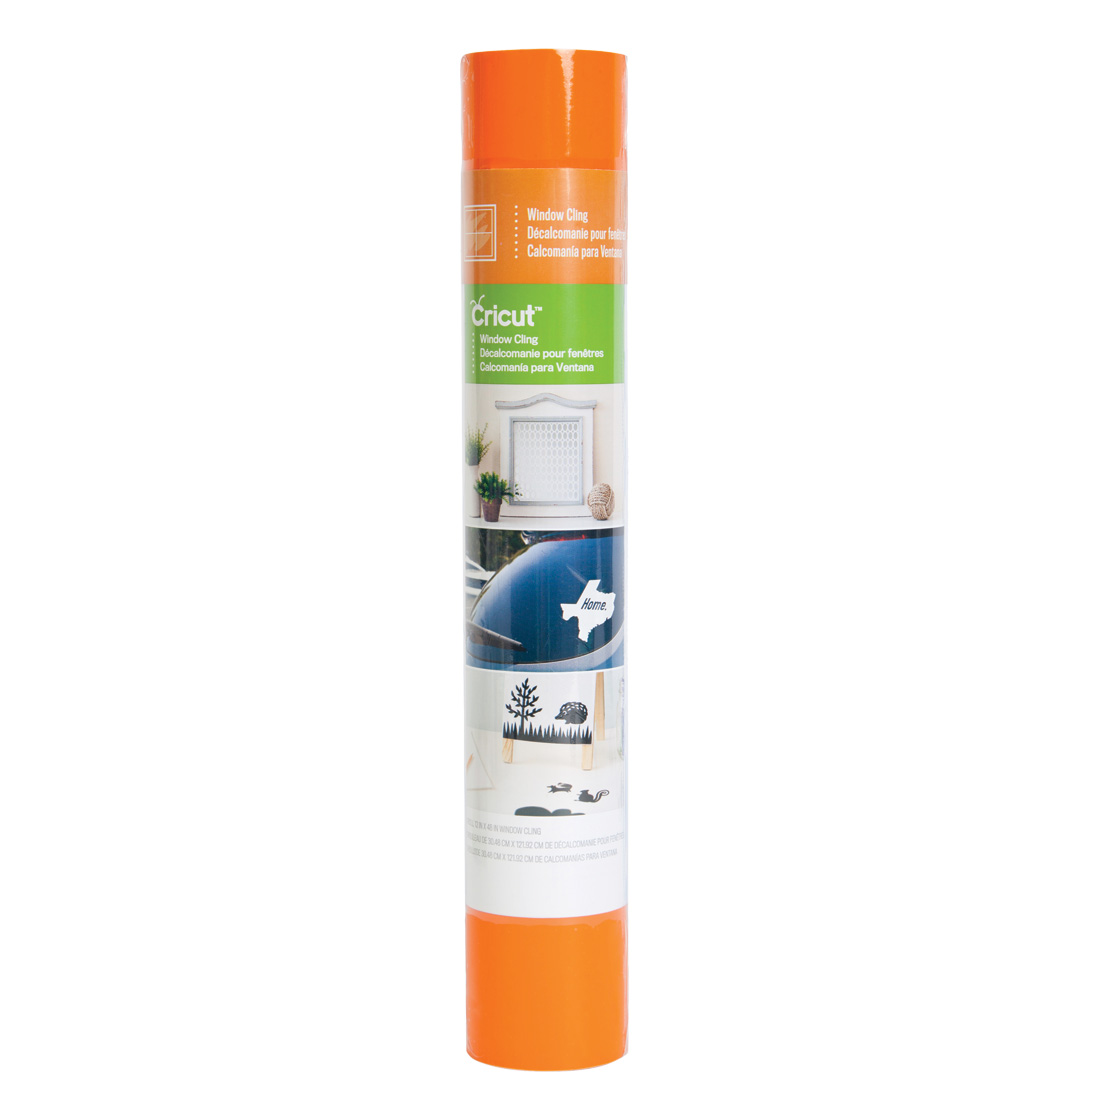
Cricut® Vinyl makes it easy to personalize your home with quotes, window decals, and removable labels. You can even customize personal belongings such as media covers, car windows, and notebooks. Each package comes with one 12 x 48″ vinyl roll and is available in a variety of colors. Cricut® Transfer Tape makes applying the vinyl a cinch.
Cricut® Vinyl is easily removed, making it convenient to change things up. You can even decorate your walls for each coming holiday. With our large variety of Cricut® images and fonts, you can customize your home and belongings to fit your very own style!
Cricut® Vinyl sheets are made up of two parts. The vinyl is the actual material that will be cut and applied to your project and the liner is the carrier sheet that holds the design in place while the vinyl is being cut.
Includes
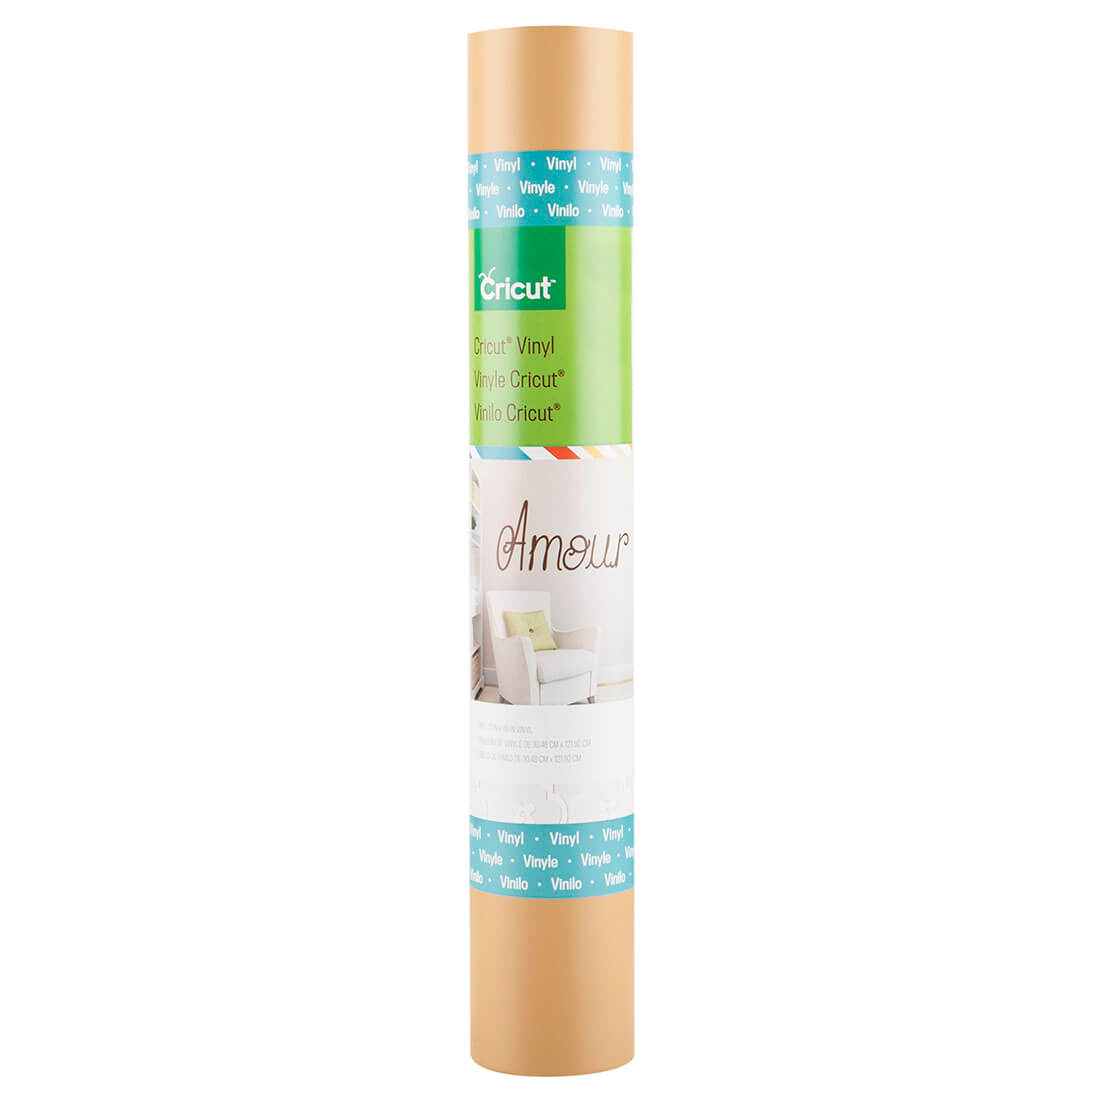
- One 12” x 48” roll Cricut® Vinyl in Honey, a golden yellow
- Complete application instructions
- Coupon for $5.00 off a purchase of Cricut digital images of $9.99 or more
Tips
- For best results, carefully follow the cutting and application instructions found within the Cricut® Vinyl packaging.
- Before you cut, adjust your machine settings according to the Vinyl Kiss Cut Guide below. (A kiss cut is a cut that only goes through the iron-on film and leaves the liner intact.)
- If your final image will have multiple layers, use the Cricut Craft Room® design software to line them up as they should appear in your finished design. This will make the application much easier.
- Use the weeding tool found in the Cricut® Tool Kit to remove of negative pieces of Cricut® Vinyl.
- Use Cricut® Transfer Tape to easily transfer the vinyl from the liner to the application surface.
- Press vinyl image onto a clean surface, working from center outward, smoothing out and applying pressure as you go.
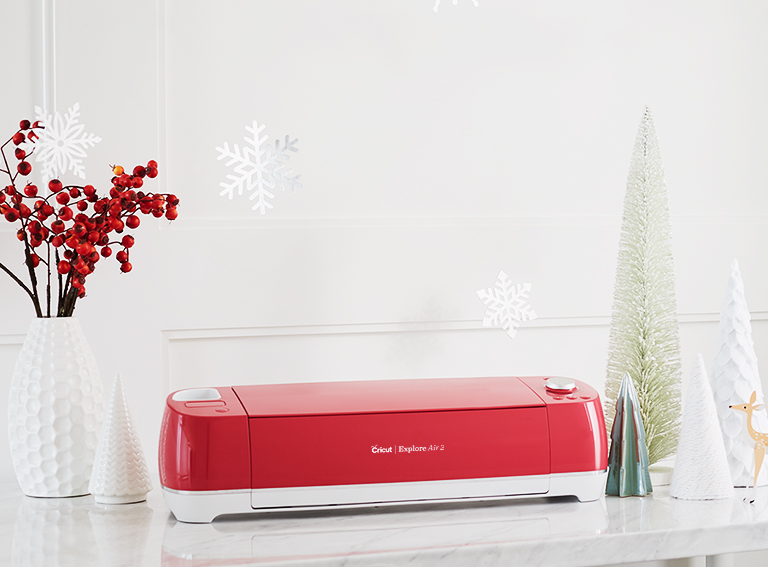
- For use with all Cricut® machines
Vinyl Kiss Cut Guide
| Blade Depth | Pressure | Speed | |
| Cricut Expression® machine | 2 | Low | Med |
| Cricut Expression® 2 machine | 3 | 3 | Med |
| Cricut Mini® machine | 3 | 2 | Med |
| Cricut Imagine® machine | 3 | 2 | Med |
| Cricut® or Cricut Create® machine | 2 | Low | Med |
”
Cricut Supplies. Click Buy Now